

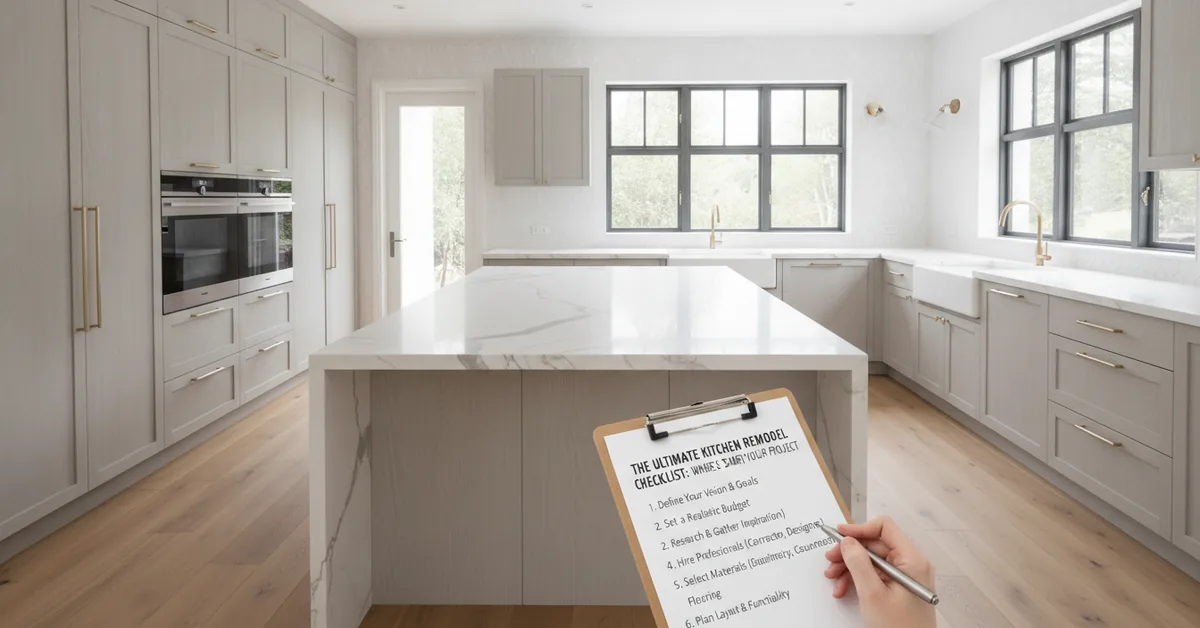
In my fifteen years of running a custom cabinet shop, I have watched hundreds of homeowners walk through my doors clutching beautiful Pinterest boards, only to realize they have designed a kitchen that cannot actually be built. They focus on the brass hardware, the waterfall quartzite island, and the professional-grade range, completely bypassing the structural, mechanical, and spatial realities of their home. A successful kitchen renovation does not start with selecting paint colors; it begins in the unglamorous world of tolerances, plumbing stacks, and cabinet box construction. When you tear down to the studs, the margin for error is measured in sixteenths of an inch, and a single sequencing mistake can cost you thousands of dollars in retrofitting fees.
The Core Pillars of a Bulletproof Kitchen Launch
Mechanical Rough-Ins First: Never finalize your cabinetry order until your plumbing, electrical, and HVAC runs are
- Mechanical Rough-Ins First: Never finalize your cabinetry order until your plumbing, electrical, and HVAC runs are locked in and verified by a licensed trade professional.
- Appliance Specifications are Non-Negotiable: You must purchase or secure the exact manufacturer spec sheets for every appliance before a single sheet of plywood is cut.
- The Work Triangle vs. Work Zones: Modern kitchens require zone-based planning (prep, cooking, cleanup, consumables) rather than the outdated, rigid three-point triangle.
- Storage Architecture Planning: Design your cabinet interiors based on a physical inventory of your actual kitchen goods, matching drawer depths to your specific cookware.
The Costly Illusion of the "Standard" Cabinet Layout
One of the most common mistakes I see eager homeowners make is assuming that standard architectural templates will fit their real-world walls. In my workshop, we assume that no wall is perfectly plumb and no floor is perfectly level. If you plan a run of cabinets to span exactly 120 inches because that is what your tape measure read at eye level, you are setting yourself up for disaster. Walls bow, drywall mud build-up in corners can add a quarter-inch of thickness, and floors can slope up to an inch across a ten-foot run.
This is why professional kitchen planning requires scribing tolerances. When we build premium face-frame or European frameless cabinetry, we always build in filler strips and extended stiles that can be shaved down on-site to match the unique contours of your plaster or drywall. If your designer does not ask you about your wall composition or floor leveling plan during the initial checklist phase, they are designing an imaginary kitchen, not your kitchen.
The Critical Sequencing Checklist: Who, What, and When
To keep your project from descending into scheduling chaos, you must understand the proper sequence of trades. I once had a client who insisted on installing their gorgeous, custom-stained white oak island before the hardwood floors were sanded and finished. The result was a ruined island baseboard, dust embedded in the grain of the cabinet finish, and an expensive bill for on-site touch-ups. Below is the precise operational sequence I recommend for every major kitchen remodel.
| Phase | Primary Activities | Critical Milestone / Deliverable |
|---|---|---|
| 1. Planning & Specifying | Measure space, select all appliances, design cabinet layouts, choose materials. | Signed cabinet shop drawings and appliance spec sheets locked. |
| 2. Demolition & Framing | Tear down walls, correct structural sagging, frame new openings and pantry closets. | Subfloor inspected and walls checked for plumb/square. |
| 3. Mechanical Rough-ins | Run new electrical circuits, relocate plumbing drains, install range hood ductwork. | Passing rough-in inspections by local building authorities. |
| 4. Wall Prep & Flooring | Hang drywall, tape, mud, prime walls, and install primary flooring. | Subfloor flat within 3/16-inch over a 10-foot radius. |
| 5. Cabinet Installation | Set base cabinets, hang uppers, install tall pantry units, level and anchor boxes. | Laser-level cabinet installation with structural screws in studs. |
| 6. Countertops & Backsplash | Template stone, fabricate surfaces, install countertops, plumb sinks, lay tile. | Sinks operational and stone seams sealed. |
Why Appliance Specs Dictate Your Entire Cabinet Budget
If you take nothing else away from this guide, remember this: appliances dictate cabinetry, never the other way around. I have had clients purchase a luxury 48-inch dual-fuel range halfway through their cabinet build, only to realize the heat clearance requirements mandated a completely different upper cabinet configuration and a commercial-grade makeup air system for the ventilation.
For instance, a standard counter-depth refrigerator still requires cabinet-depth return panels that are deeper than standard 24-inch base boxes to look truly integrated. Furthermore, the door swing clearance of professional-grade French door refrigerators can require up to three inches of filler space if placed adjacent to a deep pantry wall. Without these precise dimensions integrated into the shop drawings from day one, you will find your custom cabinet doors hitting your refrigerator handle every time you open them.
Your Step-by-Step Action Plan for Day One
If you are standing in your current kitchen looking around and wondering how to take the very first step, here is your immediate, actionable checklist to get the project moving in the right direction:
- Conduct a Kitchen Audit: Empty your current cabinets and categorize your items. Measure your tallest stockpot, your food processor, and your stack of dinner plates. This dictates your drawer depths and shelf spacing.
- Document Your Mechanical Locations: Note where your current sink drain, gas line, and range hood vent exit the house. Moving these services adds roughly $1,500 to $4,000 per line to your budget. Decide early if relocation is truly necessary for flow.
- Create an Appliance Binder: Download the full PDF installation manuals for every appliance you intend to purchase. Do not rely on the simple retail sales sheets; you need the technical specifications that show exact gas line inlet locations and electrical plug recesses.
- Hire Your Cabinet Maker and Contractor Simultaneously: Your cabinet maker understands fine woodworking and tolerances, while your contractor understands structural framing and mechanicals. Getting them in the same room before finalizing plans prevents finger-pointing later.
Frequently Asked Kitchen Planning Questions
- How do I determine if my existing kitchen layout can be salvaged or needs a complete redesign?
- Look at your primary workflow. If you cannot open your dishwasher while standing at your sink, or if your primary prep zone (the space between the sink and the cooktop) is less than 36 inches, your layout is fundamentally flawed. If your current layout functions well but simply looks dated, you can save up to 40% of your budget by keeping the plumbing and gas lines in their original locations and focusing on cabinet replacement and cosmetic upgrades.
- What is the difference between frameless (European) and face-frame cabinetry, and how does it affect my planning?
- Face-frame cabinetry features a 1.5-inch solid wood frame attached to the front of the cabinet box, offering a classic American look and high structural rigidity. Frameless cabinetry eliminates this frame, offering full access to the cabinet interior and up to 15% more drawer storage space. However, frameless cabinetry requires exceptionally level floors and perfectly plumb walls, as the gaps between doors are incredibly tight (typically 3/32 of an inch) and show even minor structural misalignment.
- Why is a makeup air system required for high-CFM range hoods, and how does it affect my remodel checklist?
- Modern building codes require a makeup air system if your range hood pulls more than 400 CFM (Cubic Feet per Minute). High-powered hoods can create negative air pressure inside tightly sealed, energy-efficient modern homes, potentially pulling toxic carbon monoxide back down water heater and fireplace flues. Planning for a makeup air damper and dedicated ductwork must happen during the mechanical rough-in phase, as it requires running fresh air intake lines from the exterior of your home directly to your HVAC system or kitchen zone.