

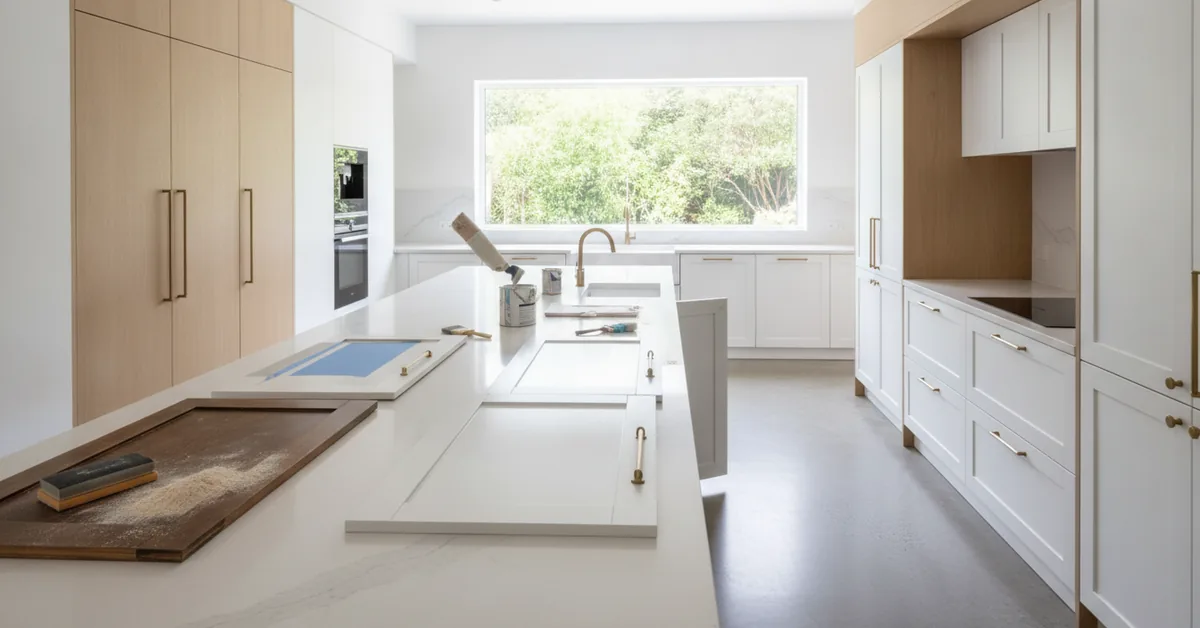
I get the call at least once a month. It’s usually from a homeowner who, armed with a weekend and a few YouTube videos, decided to tackle their own cabinet refinishing project. Now, they're looking at a kitchen full of tacky, streaky, or already-chipping cabinet doors, and their quick-fix project has turned into a costly emergency call to a professional like me. The truth is, refinishing cabinets isn't just painting. It's a systematic process of deconstruction, intense preparation, and careful application that separates a factory-quality finish from a DIY job that looks its age in six months. The magic isn't in the final coat of paint; it's in the painstaking, unglamorous work that comes before it.
My Four Commandments for a Lasting Cabinet Finish
Preparation is 90% of the Job: The final finish is only as good as the surface beneath it. Rushing the cleaning,
- Preparation is 90% of the Job: The final finish is only as good as the surface beneath it. Rushing the cleaning, degreasing, and sanding phases is the single most common reason for failure.
- Identify Your Material Before You Begin: You cannot treat oak the same as MDF or a previously lacquered maple. The material dictates your primer, your paint, and your entire prep strategy. Guessing is a recipe for peeling.
- Invest in a Quality Primer and Topcoat: This is not the place to save money. A high-adhesion bonding primer and a self-leveling cabinet enamel are non-negotiable for a finish that can withstand the daily abuse of a kitchen environment.
- Patience is Your Most Important Tool: Rushing cure times between coats is a guarantee for a soft, easily-damaged finish. Each layer needs to fully harden, not just feel dry to the touch, before you proceed.
The Unseen Enemy: Kitchen Grease and Why It Will Ruin Your Project
Before you even think about sandpaper, we need to talk about contamination. Years of cooking releases aerosolized grease that settles on every surface in your kitchen, forming a thin, often invisible film. Trying to sand a greasy surface just grinds the oils deeper into the wood grain. Paint simply cannot bond to it. I once had a client who couldn't understand why his expensive cabinet paint was literally scratching off with a fingernail. He had sanded meticulously but skipped the most critical first step: degreasing. We had to strip everything back down to bare wood, doubling the labor cost.
Your first step, after removing all hardware and doors, is a thorough cleaning with a dedicated degreaser. I personally use a TSP (trisodium phosphate) substitute, as it's powerful and effective. You need to scrub every square inch—fronts, backs, and face frames—with a non-abrasive scrub pad, then rinse with a clean, damp cloth and let it dry completely. This single, tedious step is more important than your choice of paint color.
Sanding: The Great Misunderstanding
Most DIY guides will tell you to sand your cabinets. But they often fail to explain the why and the how. You are not sanding to remove the old finish entirely (unless you are switching from paint to a dark stain). You are sanding to create a microscopic series of scratches, known as a 'mechanical tooth,' for the new primer to grip onto. Without this tooth, the primer sits on top of the old finish like water on glass, ready to peel away.
The grit of sandpaper you use is critical, and it depends on the current state of your cabinets. Here’s a breakdown I use in my own shop:
| Cabinet Condition | Recommended Sanding Grit | Purpose of Sanding |
|---|---|---|
| Existing clear coat (lacquer/poly) in good shape | 180-220 grit | Scuff sanding to de-gloss and create a mechanical bond for primer. |
| Previously painted surface, no chipping | 150-180 grit | Removes surface imperfections and provides a strong tooth for new primer. |
| Chipping paint or damaged finish | 100-120 grit (to start) | Feathering out the chipped edges and smoothing the surface. Must follow with a finer grit (180+) before priming. |
| Raw, unfinished wood | 220 grit | Final smoothing of wood grain to prepare for stain or primer. Any coarser will leave visible scratches. |
After sanding, you must remove every particle of dust. I use a vacuum with a brush attachment, followed by a tack cloth. Any dust left behind will become gritty bumps in your final finish.
The Main Event: Priming and Painting Your Cabinets
With a perfectly clean, dry, and scuffed surface, you are finally ready for the rewarding part. Here is the process that ensures a professional-grade result. I recommend setting up a clean, dust-free space like a garage to lay out your doors and drawers for painting.
- Choose the Right Primer: For most kitchen applications, especially going from a dark wood to a light paint color, a shellac-based or oil-based stain-blocking primer is my go-to. It seals wood tannins (which can bleed through latex paint and cause yellowing) and adheres to almost any surface.
- Apply the First Coat of Primer: Use a high-quality brush for corners and details, and a mini foam roller for flat surfaces. Apply a thin, even coat. Don't try to get full coverage in one pass. Let it dry according to the manufacturer's instructions, which is often longer than you think.
- Sand the Primer: This is a pro step that most people skip. Once dry, lightly sand the primed surface with 220-grit sandpaper. This knocks down any grain raise or imperfections, creating an ultra-smooth base for your paint. Vacuum and tack cloth again.
- Apply Your First Topcoat: Now, apply your cabinet paint (I recommend a waterborne alkyd enamel for its durability and self-leveling properties). Again, apply a thin, even coat. The goal is smoothness, not thick coverage.
- Wait, Then Apply the Second Topcoat: Follow the manufacturer's recoat time precisely. Rushing this will cause the first coat to re-wet and drag, creating a mess. A second thin coat should give you a perfect, uniform finish. A third may be needed for very light colors over dark wood.
- Cure, Don't Just Dry: This is the final test of patience. Paint may be dry to the touch in a few hours, but it takes days, sometimes weeks, to fully cure and harden. I advise my clients to wait at least 3-5 days before re-installing doors and to be gentle with them for the first month. Banging a freshly painted door against its frame can easily cause a chip before the finish has reached maximum hardness.
Frequently Asked Questions from My Workshop
- Can I refinish thermofoil or laminate cabinets?
- Technically, yes, but I often advise against it. These are essentially plastic-wrapped particle board. The process requires a specialized, high-adhesion primer designed for plastics, and the prep work is extreme. Even then, the durability is a fraction of what you'd get on a solid wood or MDF cabinet. The risk of peeling is high, and it's often a poor return on a significant labor investment.
- Is a paint sprayer better than a brush and roller?
- For a flawless, factory-like finish, a sprayer is unmatched. It atomizes the paint, laying on a perfectly even coat with no brush marks. However, sprayers have a steep learning curve. They require proper thinning of the paint, correct pressure settings, and a skilled hand to avoid drips and runs. For a first-time DIYer, a high-quality brush and a foam roller can produce an excellent result if you take your time and apply thin coats.
- What's the biggest mistake you see homeowners make besides skipping prep?
- Using the wrong type of paint. I've seen kitchens painted with standard wall paint (latex acrylic). It's not designed for the high-touch, high-moisture, high-grease environment of a kitchen. It remains soft, scuffs easily, and is difficult to clean without damaging the sheen. You must use a product specifically formulated for cabinets and trim, often labeled as an acrylic-alkyd hybrid or urethane-reinforced enamel. It costs more per gallon, but it's the only thing that will hold up.