

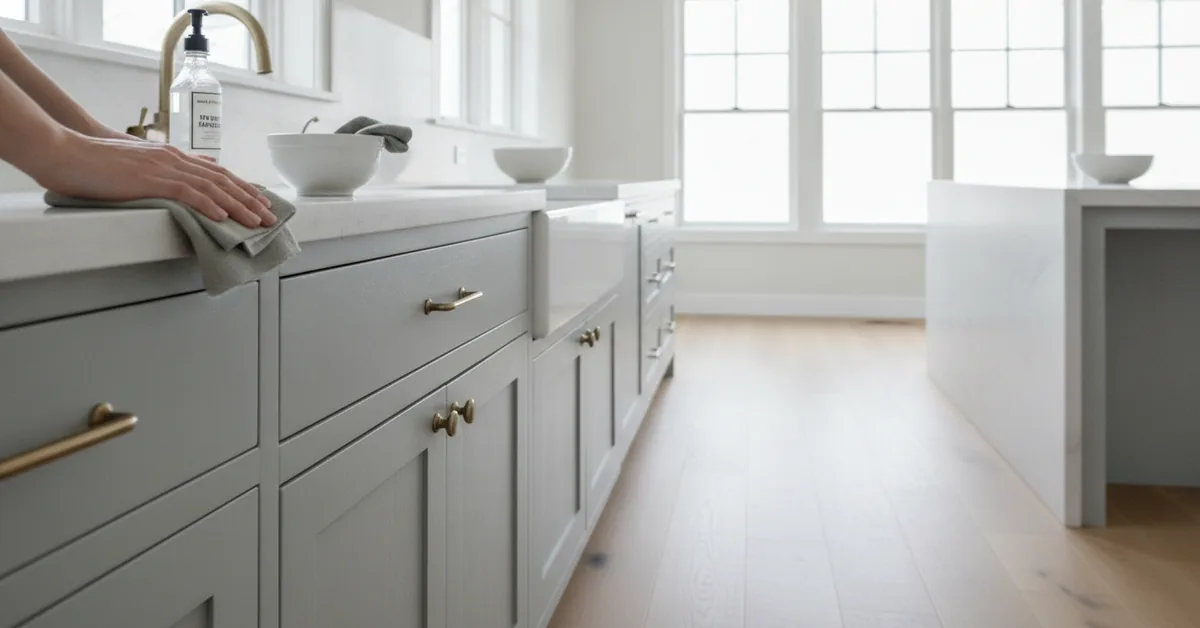
I can tell how well a kitchen is loved not by how spotless it is, but by the tiny, almost invisible signs of wear on the cabinet doors. The most common one I see? A subtle dulling or even slight stickiness around the handles of the most-used cabinets—the pull-out trash, the silverware drawer, the pantry. This isn't from neglect; it's from love, from daily use, and almost always, from using the wrong cleaning products with the best of intentions. The beautiful, factory-cured, multi-layer paint finish that costs thousands is incredibly durable, but it's not invincible, and the most common household cleaners are its primary enemy.
My Four Pillars for Preserving Your Painted Finish
The "Less is More" Cleaning Philosophy: Start with the gentlest method possible (a dry microfiber cloth) and only
- The "Less is More" Cleaning Philosophy: Start with the gentlest method possible (a dry microfiber cloth) and only escalate the cleaning agent when absolutely necessary. Aggressive cleaning is the number one cause of premature finish failure I see.
- Understanding Your Enemy—Grease vs. Grime: Not all kitchen messes are the same. Airborne cooking grease requires a different approach than a simple smudge or food splatter, and using the wrong solution can make things worse.
- Tool Selection is Non-Negotiable: The cloth you use is as important as the cleaning solution. Abrasive sponges or paper towels can create micro-scratches that dull the sheen of your paint over time.
- Proactive Maintenance Beats Reactive Repair: A consistent, gentle weekly wipe-down is far more effective and less damaging than an aggressive deep clean once every few months. This prevents the buildup that requires harsh chemicals.
The Chemistry of a Cabinet Finish: Why Most Cleaners Cause Damage
When you invest in high-end custom cabinets, you're not just paying for wood and paint. You're paying for a sophisticated finishing system. In my shop, a typical painted finish involves a multi-step process: two coats of primer, sanding, two coats of a pigmented conversion varnish or a 2K polyurethane, and a final clear topcoat for sheen and durability. This creates a hard, non-porous, chemically resistant shell. The problem is that many household cleaners, especially those with ammonia, harsh solvents, or citrus oils, are designed to dissolve organic compounds—which is exactly what both the paint and the protective topcoat are. They work by slowly breaking down the finish at a molecular level. It's not something you see after one use, but after a year of weekly cleanings with a popular all-purpose spray, I often see the sheen unevenness and a slightly tacky feel that signals the topcoat is compromised. This is irreversible damage that can only be fixed by a complete refinish.
Your Cleaning Arsenal: What I Use vs. What to Avoid
Over the years, I've seen clients use everything from vinegar solutions to straight dish soap on their brand-new, $50,000 kitchens. It makes me cringe. The goal is to lift the grime without affecting the finish. Here’s a breakdown of what’s safe and what’s a guaranteed path to a refinishing job.
| Cleaning Agent | Why It's Safe or Unsafe | Best Use Case |
|---|---|---|
| Safe: Damp Microfiber Cloth | Water is a universal solvent that won't harm a cured finish. Microfiber traps dust and light grime without scratching. | Daily or weekly dusting and light smudges. |
| Safe: Mild Soap Solution (e.g., Dawn) | A few drops in a gallon of warm water. It's a pH-neutral degreaser that is gentle enough to lift fresh grease without stripping the topcoat. Must be rinsed. | Weekly cleaning, light splatters, fresh fingerprints. |
| Unsafe: All-Purpose Sprays with Solvents | Contain chemicals like glycol ethers or ammonia that are designed to dissolve tough messes but will also soften and dull the paint's clear coat over time. | Never. These are the primary culprits of finish degradation. |
| Unsafe: Vinegar or Citrus-Based Cleaners | These are acidic. While great for mineral deposits, acid can etch the surface of a polyurethane or conversion varnish finish, leading to a permanent loss of sheen. | Never. The 'natural' label is misleading for this application. |
| Unsafe: Abrasive Cleaners or Sponges | Contain fine particulates (like silica) that act like sandpaper, creating thousands of micro-scratches that make the surface appear dull. | Never. This includes the 'gentle scrub' side of most kitchen sponges. |
My Client Story: The Case of the "Sticky" Shaker Doors
I once got a call from a client in a high-humidity area, about 18 months after we completed their kitchen. They were concerned that the finish on their white Shaker doors was failing, describing it as "sticky" to the touch, especially above the dishwasher and next to the range hood. My first thought was a product defect. When I arrived, I saw exactly what they meant. The sheen was gone, and the surface had a tacky residue. I asked what they used to clean them. The homeowner proudly showed me a popular orange-scented, oil-based wood cleaner, thinking she was "nourishing" the cabinets. In reality, the oils and solvents in the product were dissolving the acrylic topcoat and attracting airborne grease and dust, creating a sticky film. The product marketed to 'clean and protect wood' was actively destroying the modern, catalyzed finish. We had to professionally strip and respray five doors, a costly and disruptive lesson in proper care.
The Official Master Cabinet Maker's Cleaning Protocol
This is the exact procedure I give every single one of my clients. It's designed to be effective, safe, and to preserve the beauty of their investment for decades.
- Initial Dry Wipe: Always start by wiping the entire cabinet surface, including edges and detailing, with a clean, dry microfiber cloth. This removes loose dust and debris that could become abrasive when wet.
- Prepare Your Gentle Solution: If a dry wipe isn't enough, mix a simple solution. Add no more than 2-3 drops of a mild, pH-neutral dish soap (like original Dawn) into a gallon of warm water. Do not use soaps with moisturizers, oxygenating agents, or harsh degreasers.
- The Two-Cloth Method: You will need two high-quality microfiber cloths. Dip the first cloth into the soapy solution and wring it out until it is just damp, not dripping. A dripping cloth will force water into joints and seams, which is especially bad for MDF center panels.
- Wipe with the Grain: Gently wipe the cabinet surface, following the direction of the wood grain if visible, or in a consistent vertical or horizontal motion for a smooth finish. Pay special attention to areas around handles and knobs.
- Immediate Rinse and Dry: Immediately after cleaning a section, use the second, clean cloth, dampened with plain water only, to "rinse" any soap residue off the surface. Follow this immediately with a third, completely dry microfiber cloth to buff the surface dry. Never let water sit on the surface or in the panel grooves.
- Address Stubborn Grease Spots: For a stubborn, greasy spot, you can apply a tiny amount of the soapy water solution directly to the spot and let it sit for 30-60 seconds before wiping. Avoid scrubbing at all costs. Gentle, patient application is key.
Frequently Asked Questions from My Clients
- What about deep cleaning for heavily soiled cabinets, like above a range hood?
- For heavy, polymerized grease buildup that the soap solution won't cut, you can use a dedicated cabinet cleaner specifically formulated for catalyzed finishes, like those from Mohawk Finishing Products. However, this is a last resort. Test it in an inconspicuous area first, like the back of a door. The real solution is prevention: use your range hood fan every single time you cook and perform the weekly gentle wipe-down to prevent this level of buildup from ever occurring.
- How do I deal with small chips or scratches in the paint?
- This is a critical point. Do not use a generic hardware store touch-up pen. It will not match the color or the sheen, and it will look worse. When I deliver a custom kitchen, I always provide the client with a small touch-up kit containing the exact paint and topcoat used on their cabinets. For a tiny nick, use a fine artist's brush to apply a minuscule amount of paint, staying only within the chip itself. Let it dry completely. A professional touch-up is an art form; for anything larger than a pinhead, it's best to call a professional.
- My painted MDF island panels are swelling slightly at the bottom where they meet the floor. Is this a finish failure?
- This is almost never a finish failure; it's a moisture issue. The painted finish is only on the visible surfaces. The raw MDF bottom edge can act like a sponge if it's repeatedly exposed to water from mopping. When we install, we seal these bottom edges with silicone, but over time that can wear. The solution is to be extremely careful when mopping, using a barely damp mop and drying any water that touches the base of the island immediately. If swelling has already occurred, it unfortunately cannot be reversed and the base molding may need to be replaced.